
Last updated November 14, 2026
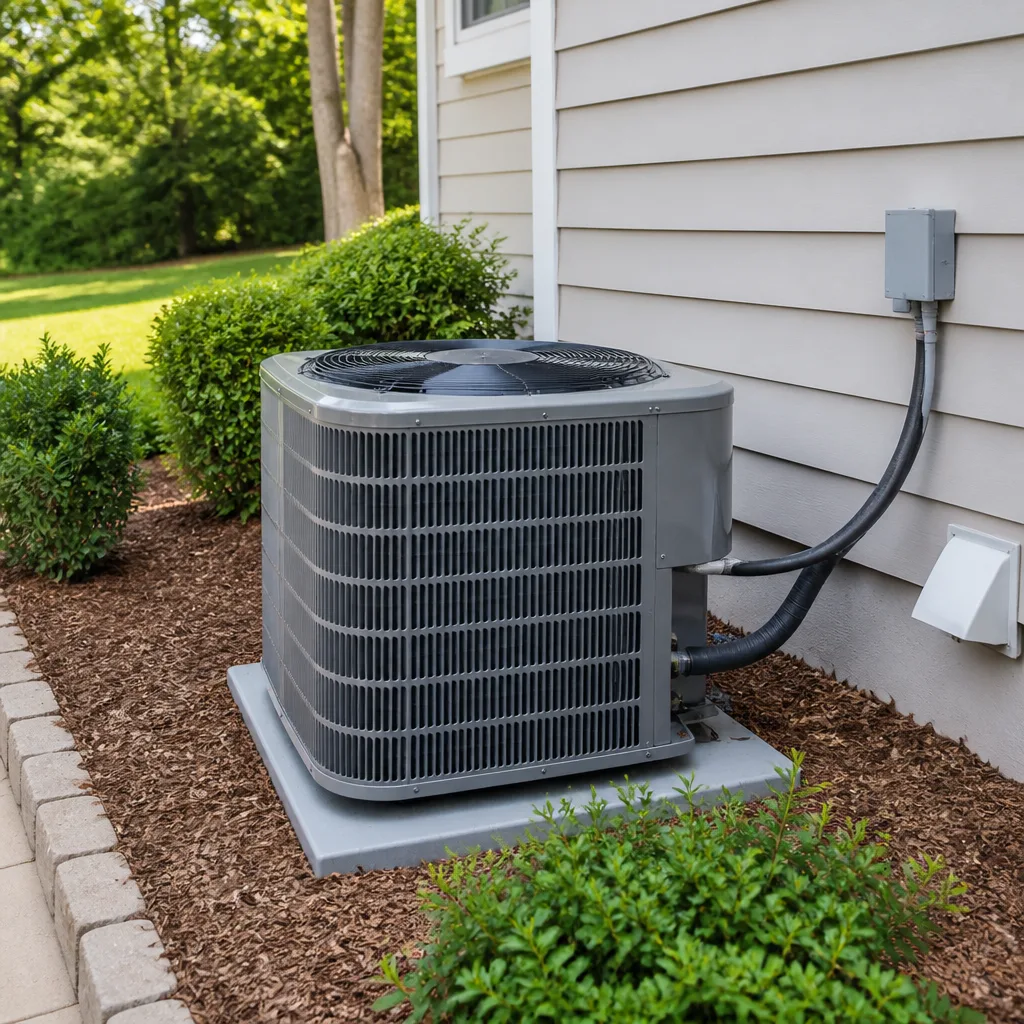 AC repair
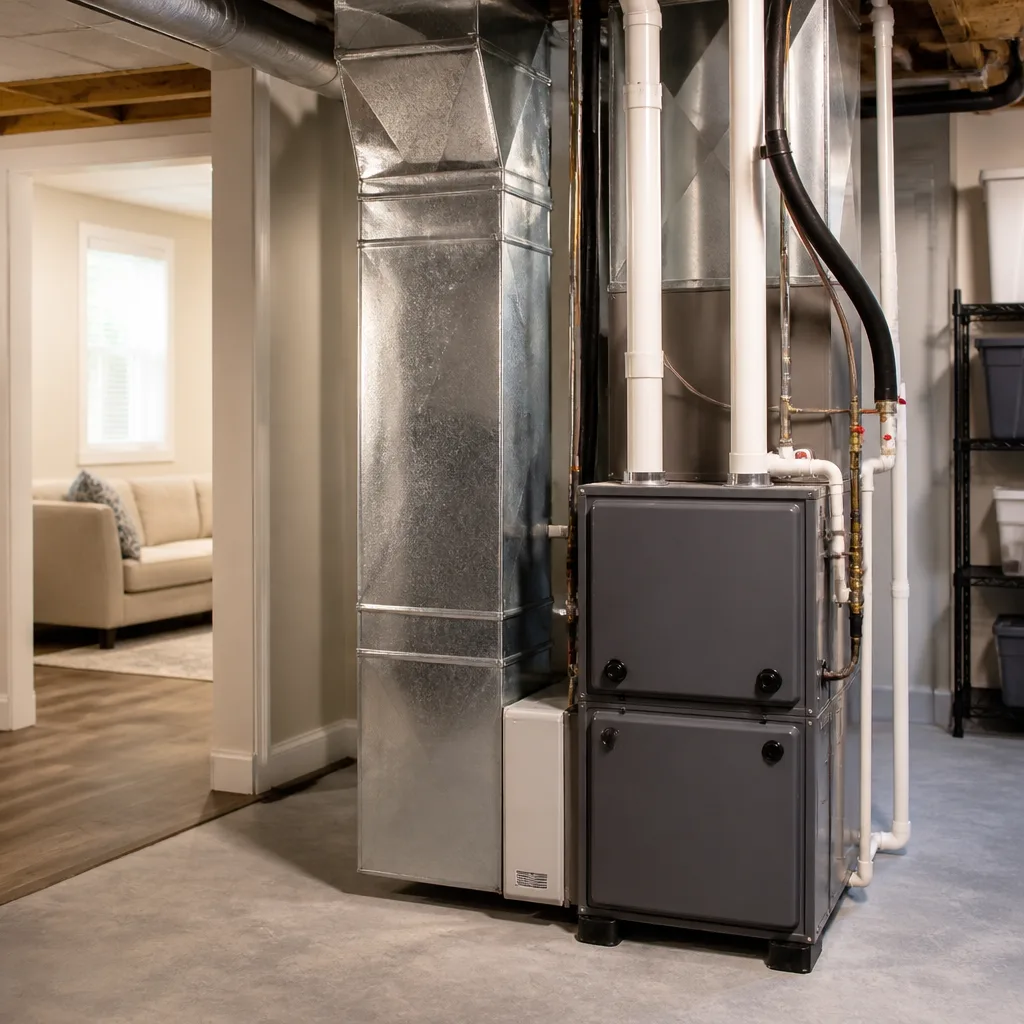 Furnace & heating
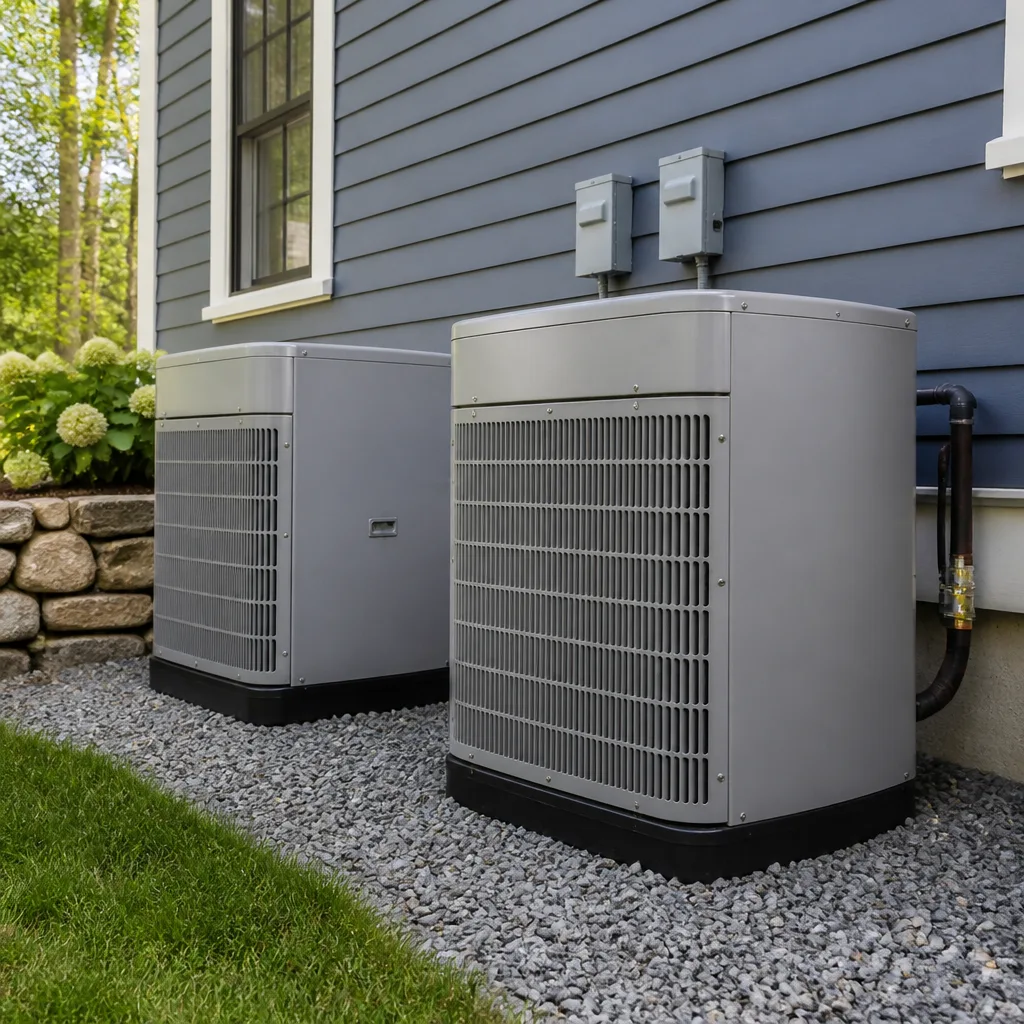 Heat pumps
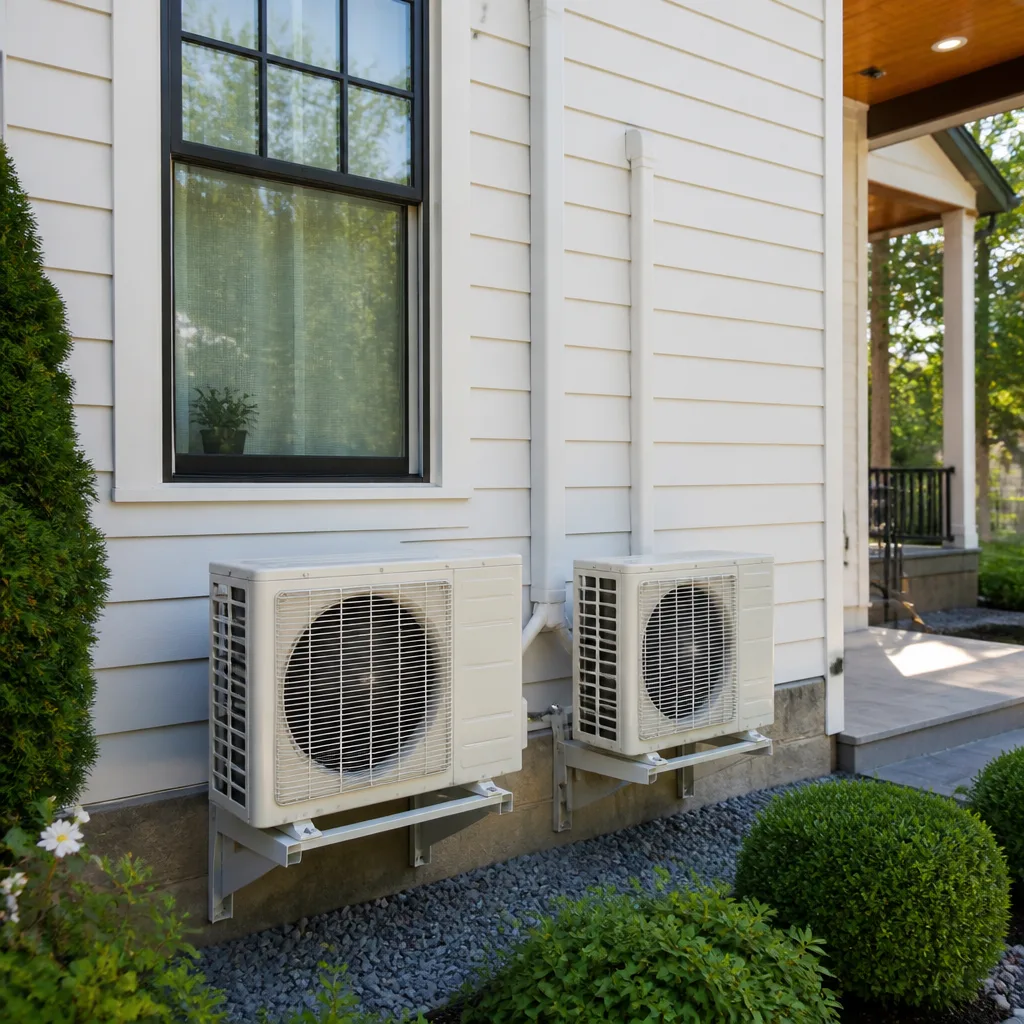 Ductless mini splits
 Carrier
 Trane
 Goodman
Seasonal tune-up and full diagnostic on your Carrier, Trane, or Goodman system - readings shown to you before any repair is proposed
Diagnosis first, numbers second - you approve the repair price before a single part goes in.
Get your free estimateDIY vs Professional HVAC: The North Las Vegas Homeowner’s Decision Guide
Most HVAC decision guides start with a simple question: do I have the skill to fix this? But skill isn’t the scarce resource in North Las Vegas in July. Time is. A capacitor swap that takes a YouTube-taught homeowner three sweaty hours in a 115°F attic has a real cost that goes beyond the $20 part. That cost is measured in heat exposure, missed work, and the compounding risk of misdiagnosing the root cause while the house creeps toward 90°F. This guide explains which HVAC tasks a North Las Vegas homeowner can reasonably take on, which ones legally and practically require a licensed technician, and how to run the actual math on whether a DIY attempt is worth it when your household’s comfort is already failing.
Quick Answer
In North Las Vegas, filter replacement and basic thermostat swaps are reasonable DIY tasks for most homeowners. Capacitor replacement can be done safely with the right precautions, but anything involving refrigerant, gas lines, or high-voltage wiring should be left to a licensed professional. Given summer temperatures that routinely exceed 110°F, the true cost of a failed DIY attempt is often far higher than the labor charge you’re trying to save.
Styles & brands we work with
- AC repair
- Furnace & heating
- Heat pumps
- Ductless mini splits
- Carrier
- Trane
- Goodman
Table of Contents
- The Real Cost Equation: Why Timing Changes Everything in North Las Vegas
- What’s Actually Reasonable to DIY in This Climate
- Capacitor Replacement: The Honest Truth About the Most Common DIY Repair
- Legally Restricted and Genuinely Dangerous: What You Can’t Touch
- The Warranty Trap: What Your Air Handler’s Manual Doesn’t Tell You
- How to Describe a Failed DIY Attempt to a Technician
- The Timing Math: A Simple Formula for the DIY Decision
- Common Mistakes to Avoid
The Real Cost Equation: Why Timing Changes Everything in North Las Vegas
The DIY conversation is usually framed around labor rates. A service call costs somewhere between $75 and $150 before parts. A capacitor costs $15 to $40 online. The math looks obvious until you factor in what July does to an unconditioned attic.
In North Las Vegas, daytime highs from June through September routinely sit between 105°F and 115°F. An attic directly under a tile or shingle roof can run 20 to 30 degrees hotter than the outdoor air. That means the space where most air handlers and condensate lines live is genuinely dangerous territory. Heat exhaustion doesn’t announce itself. You’ll feel fine until you don’t. The symptoms, nausea, dizziness, confusion, and a sudden lack of sweating, show up after your decision-making has already degraded. That’s a bad state to be in when you’re holding a screwdriver next to high-voltage terminals.
There’s a harder cost too. If you misdiagnose the problem on a Friday afternoon, you’re not just out the cost of the wrong part. You’re now competing for emergency service slots at the hottest point of the week. Hotels along the I-15 corridor fill up fast when the temperature spikes. A family with small children or elderly members can’t stay in a 95°F house overnight. So the $150 you saved on labor starts to look small next to $400 for two nights at a hotel and $800 for an emergency call-out.
None of that means you should never do anything yourself. It means the decision isn’t about whether you can eventually figure it out. It’s about whether the clock is on your side.
What’s Actually Reasonable to DIY in This Climate
Let’s separate the tasks that belong in a homeowner’s regular maintenance repertoire from the tasks that don’t. Here’s what genuinely works for most people in North Las Vegas:
- Air filter replacement: This isn’t even a repair. It’s maintenance, and it belongs on your calendar. In the Mojave climate, dust is constant. During spring wind events, filters clog faster than the 90-day average most manufacturers print on the packaging. Check monthly during high winds and replace when you can visibly see the pleats are loaded. A clogged filter restricts airflow and causes the evaporator coil to freeze. The fix for a frozen coil is simple, turn the system off and let it thaw, but the root cause is usually a filter you forgot.
- Thermostat battery and basic programming: If your thermostat is blank or unresponsive, the first move is to pop the faceplate off and replace the batteries. A surprising number of no-cool calls are solved by two AA batteries. Programming changes are also fair game. You won’t void a warranty by setting a schedule.
- Condensate line clearing: The PVC pipe that drains water from your air handler can clog with algae and dust. A wet/dry vacuum placed over the drain outlet can usually pull the blockage out. This is a genuinely useful skill in North Las Vegas because the dry air doesn’t prevent algae from forming inside a warm, damp pipe.
- Capacitor replacement with full safety protocol: Yes, this is the most common DIY repair. But the distance between “watched a video on it” and “did it safely” is wider than most people think. We cover that below.
- Full thermostat swap: Replacing an old thermostat with a new one is within reach for a methodical homeowner. The low-voltage wiring (24V) is not the part that hurts you. The part that hurts you is crossing a wire that isn’t color-coded the way the manual shows. If the old thermostat uses a heat pump or dual-fuel wiring, it’s easy to miswire the reversing valve. That mistake won’t shock you, but it can cause the system to run heating and cooling simultaneously or trip the breaker.
What all of these have in common is that they don’t involve the refrigerant circuit and they don’t require you to touch line voltage. That’s the line we’ll stay behind for the rest of this guide.
Capacitor Replacement: The Honest Truth About the Most Common DIY Repair
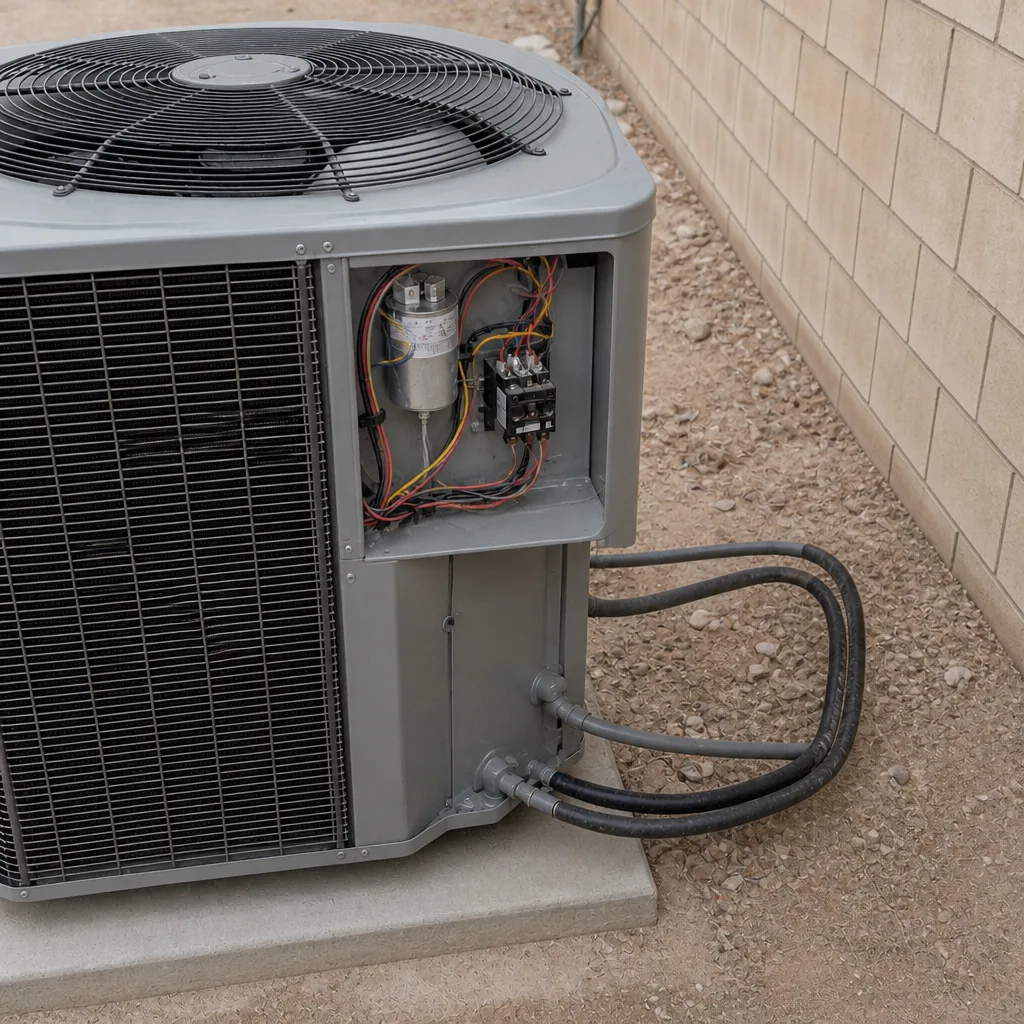
The capacitor is the most frequently DIY’d part in an AC system, and for good reason. It’s a cylinder that sits in the compressor unit outside or in the air handler, it costs under $50 at most supply houses, and when it fails, the symptoms are usually obvious. The compressor won’t start, or the fan won’t spin, or the unit hums for a second and then shuts off. A failing capacitor is one of the most common causes of a no-cool call in North Las Vegas because the heat accelerates the internal breakdown of the dielectric material.
But here’s what the DIY videos often gloss over: a capacitor stores enough energy to hurt you or kill you even after the power is off. The safe procedure is not to just flip the breaker. It’s to discharge the capacitor with an insulated screwdriver across the terminals, confirm zero volts with a multimeter, and then remove the leads. Skipping the discharge step is the mistake that sends a homeowner to the emergency room.
Beyond the shock risk, there’s a diagnostic issue. A weak capacitor on a compressor that’s been struggling for weeks can damage the compressor windings before the capacitor finally gives up. You might install the new capacitor, watch the unit start, and feel like you solved it. But if the underlying condition that killed the first capacitor is still there, you’ll be doing this again in a month. The most common culprit is the compressor itself drawing higher amps than the capacitor can sustain.
The question to ask before a capacitor swap isn’t “Can I follow the directions?” It’s “Can I diagnose why this one failed?” If the answer is no, a professional who can test the compressor’s amp draw and check the contactor while they’re there will save you the second trip.
If you do decide to replace a capacitor yourself, three non-negotiables: shut off power at both the thermostat and the breaker, discharge the old capacitor with an insulated tool, and photograph the wiring before you disconnect anything. The photograph costs nothing and prevents the most common mistake of all: forgetting which terminal was common.
Legally Restricted and Genuinely Dangerous: What You Can’t Touch
There’s a difference between a task you shouldn’t do because it’s risky and a task you can’t legally do without a license. Homeowners in North Las Vegas who open up the sealed refrigerant circuit fall into the second category.
- Refrigerant handling. Federal EPA rules require Section 608 certification to add, remove, or even connect a gauge set to a refrigerant line. The rule isn’t a formality. R-410A is a potent greenhouse gas, and adding refrigerant to a leaking system without finding and fixing the leak is both illegal and pointless. Most cities won’t require a homeowner to show a license to buy a replacement filter, but no reputable supply house will sell you refrigerant without a 608 card.
- High-voltage electrical work. The disconnect box outside your condenser carries 240V. That’s not the 120V that trips the bathroom GFCI. That’s the voltage that stops your heart. Inside the air handler, the blower motor and electric heat strips run on the same current. If the problem is upstream of the contactor, you’re not doing capacitor work anymore. You’re doing electrical work. The threshold at which homeowner work becomes genuinely unsafe isn’t a label, it’s the voltage: anything above 50V requires a professional electrician’s habits and a licensed electrician’s insurance if something goes wrong.
- Gas line connections on a furnace. This is where DIY goes from dangerous to catastrophic. A gas leak in a closed mechanical closet doesn’t just threaten the house. It threatens the block. In North Las Vegas, most furnaces are natural gas, and the valve, manifold, and heat exchanger all run on a combustion process that needs to be tested for carbon monoxide after any service. If a DIY repair involves a gas line, a union, a flex connector, or the burner assembly, the answer is always a licensed technician. No exception.
- Anything that requires recovering refrigerant. If the diagnosis involves opening the system to replace an evaporator coil, a compressor, or a line set, the refrigerant has to be recovered into a certified recovery machine. It can’t be vented. It can’t be “let out.” The fine for venting starts in the tens of thousands of dollars, and the health risk from improper handling is real.
These aren’t judgment calls. They’re bright lines, and crossing them doesn’t just void your warranty. It puts you in violation of federal law and puts your household at risk in ways that no labor savings can justify.
The Warranty Trap: What Your Air Handler’s Manual Doesn’t Tell You
Most homeowners think of their HVAC warranty as protection against defects. It is. But it’s also a contract with specific conditions, and one of the most common conditions is that service work must be performed by a licensed professional. Many manufacturer warranties state plainly that “failure to have the unit serviced by a qualified technician” voids the parts warranty.
The language to look for before you open your air handler shows up in the “Optional Equipment” or “What Is Not Covered” section of the warranty document. If you see phrases like “unauthorized repairs,” “improper installation,” or “failure to maintain as recommended,” that’s the clause that matters. A homeowner who replaces a capacitor, miswires it, and damages the compressor will find that the compressor replacement is no longer covered. The manufacturer’s position is simple: the unit was altered by someone who wasn’t trained on it, so we don’t know what else was wrong.
This is especially relevant for systems under five years old. A parts warranty on a compressor for a Goodman, Carrier, Trane, or Lennox unit can be worth $1,500 to $3,000 if it fails. That’s the single most expensive component in the system. Voiding it to save $150 on a service call is a bad trade.
If you’ve already done a repair and you’re not sure whether it’s a problem, be honest with the technician who comes out. “I swapped the capacitor last month” is a useful fact. It tells us where to look and what to double-check. Hidden DIY work is how a simple diagnostic becomes an expensive Easter egg hunt. The warranty isn’t a game, but the only way to protect it is to know what you’re opening before you open it.
How to Describe a Failed DIY Attempt to a Technician
You’ve tried something. It didn’t work. Now you’re calling a professional. The temptation is to list what you did in the order you did it, with a lot of context about how hot it was and how long it took. Here’s the better way to describe the situation so the tech can come prepared:
- State the original symptom. What was the unit doing before you touched it? “The outside fan was spinning but the air wasn’t cold” or “the thermostat would click but nothing turned on.”
- State exactly what you replaced or adjusted. “I replaced the capacitor with a new one from a supply house.” “I changed the thermostat to a Nest.” “I tried to unclog the drain line with a shop vac.”
- State what happened after you did it. “The compressor now hums for five seconds and shuts off.” “The system runs but the air is still warm.” “The breaker trips immediately.”
- State anything you noticed that seemed wrong. “The new capacitor terminals were in a different order.” “There was a burning smell when I turned it back on.” “I saw a spark at the disconnect.”
- Stop there. Don’t try to diagnose it for the technician. Don’t list five YouTube theories. The reason you’re calling is that the first diagnosis didn’t work. Give the facts and let the person who does this every day work from clean data.
This matters in North Las Vegas because summer service schedules are tight. A technician who shows up expecting a capacitor problem and finds a fragmented compressor fault has to shift their diagnostic plan on the fly. That’s not a problem, it’s the job. But the call goes faster and costs less when the ground truth is established in the first five minutes. At Stratford AC Repair, our technicians are trained on nine major brands including Carrier, Trane, Lennox, and Goodman, which means we don’t need to leave and come back with a special tool or a brand-specific manual. We can run the full diagnostic on the first visit.
The Timing Math: A Simple Formula for the DIY Decision
Here’s a rough way to think about whether a DIY repair is worth it, specifically for North Las Vegas in the cooling season. The formula is not about the part cost. It’s about the cost of being wrong:
- Estimate your realistic completion time. Be honest. If the YouTube video says 20 minutes, it’s two hours for a first-timer. If you’re doing it in July, cut your peak window. You’ll be working in 110°F-plus heat, and you’ll need water breaks. A task that takes two hours in May takes four in July.
- Calculate the cost of being wrong for 24 hours. If the repair fails and you can’t get a same-day slot, what does the next 24 hours look like? A hotel room in North Las Vegas or near the Strip in July runs $150 to $250 a night. Two nights is $300 to $500. If you have pets, add a pet fee. If you don’t want a hotel, what’s the health risk of sleeping in a 90°F house?
- Compare that to the cost of a professional diagnostic. A service call with a diagnostic runs $75 to $150 in this market. That’s the cost of certainty. The technician will confirm the problem, test the related components, and give you a fixed quote before any work is done.
- Apply the rule. If the cost of being wrong for one night is greater than the cost of the diagnostic, call a professional. If you’re in October and the high is 78°F, the calculus flips back toward DIY. But in July, the math almost always points to a professional.
There are exceptions. A homeowner with a spare portable AC unit and a tolerance for heat has more room to experiment. A homeowner with a newborn doesn’t. The formula isn’t about courage or handiness. It’s about which resources you’re willing to spend, and in July in North Las Vegas, time spent in a hot house is a resource with a rapidly shrinking budget.
Common Mistakes to Avoid
- Replacing a part without testing it first. A multimeter costs $25. A wrong diagnosis costs a service call plus the wasted part. If the capacitor reads within 6% of its rated microfarad value, it’s not your problem. Test before you buy.
- Skipping the discharge step. A capacitor holds a charge even with the breaker off. Always discharge with an insulated screwdriver and confirm zero volts. This is the step people skip because they’re hot and tired. It’s also the step that lands people in the ER.
- Adding refrigerant to a system with a known leak. This combines illegality with futility. If refrigerant is low, it leaked out somewhere. Adding more without fixing the leak is like pumping a flat tire every day instead of finding the nail.
- Replacing a thermostat without photographing the old wiring. The old wiring diagram is the most valuable thing in that junction box. Take a picture before you unscrew a single terminal.
- Letting a frozen coil thaw by itself without finding the cause. A frozen evaporator coil means the unit is going to need hours to thaw, and the underlying cause is usually a dirty filter or low refrigerant. Just turning the system off and back on the next day without checking the filter guarantees it happens again.
- Working in an attic or closet during peak heat because “it’s almost done.” The third hour is where heat exhaustion happens. Set a timer. If you’re not done in the two-hour window you planned, come back down and reassess. The system can wait. Your cardiovascular system can’t.
- Calling a professional but withholding the DIY history. We don’t judge the attempt. We judge the data. Tell us what you already tried so we don’t retrace the same path and charge you for the rerun.
See the difference
 Before
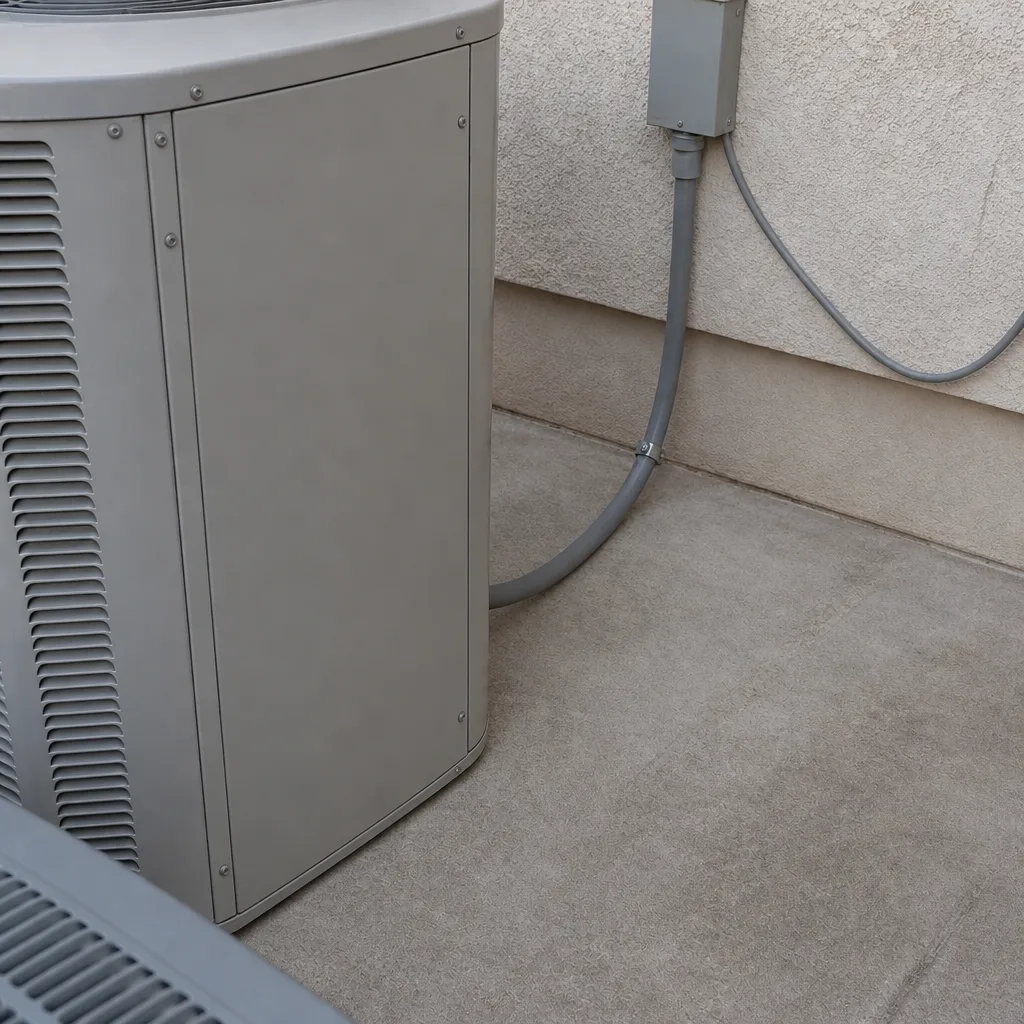 After
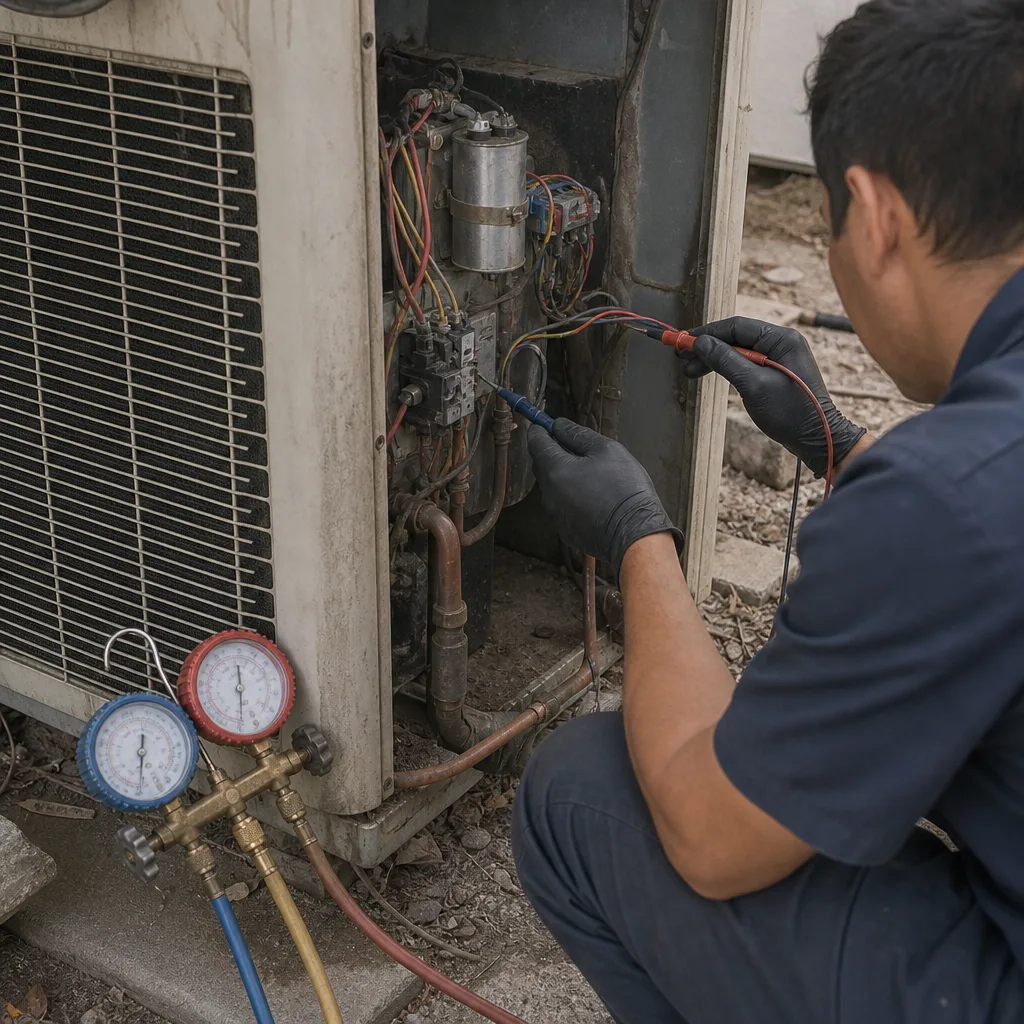 Before
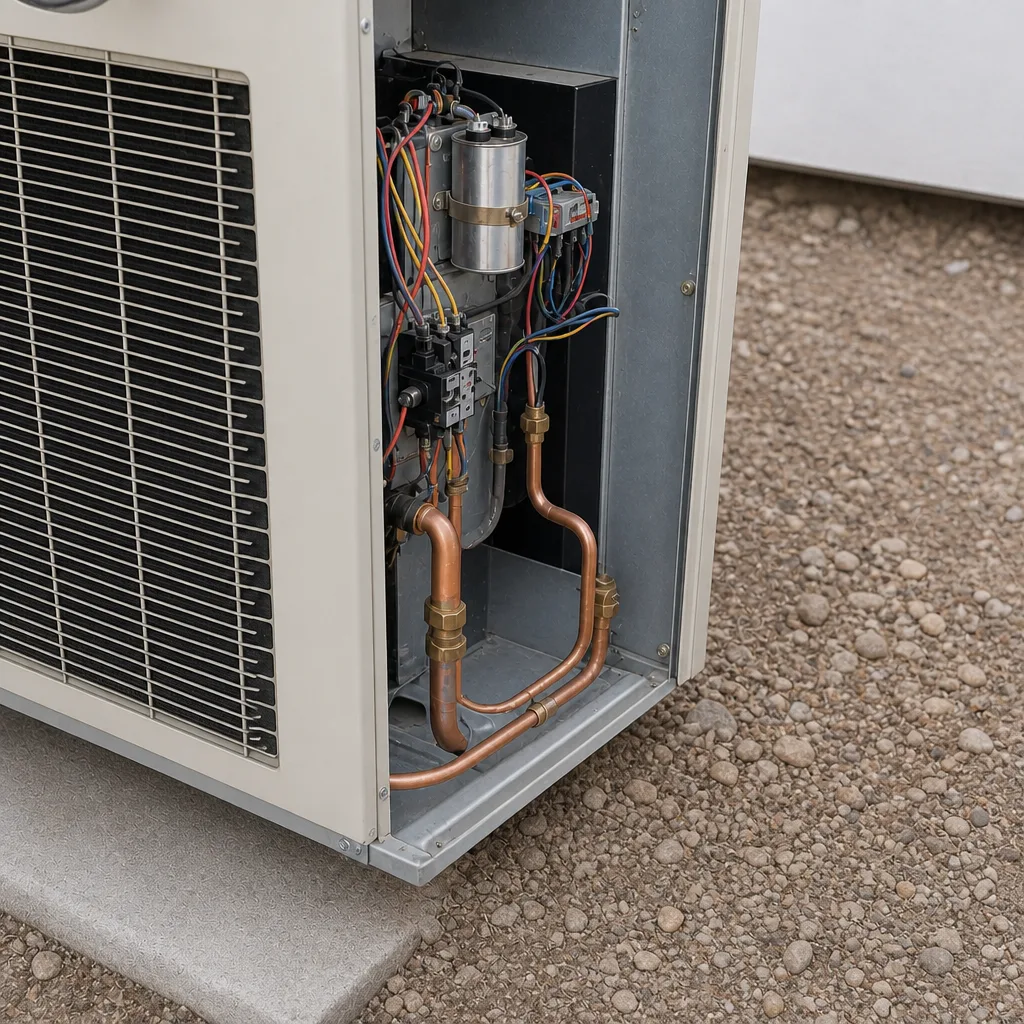 After
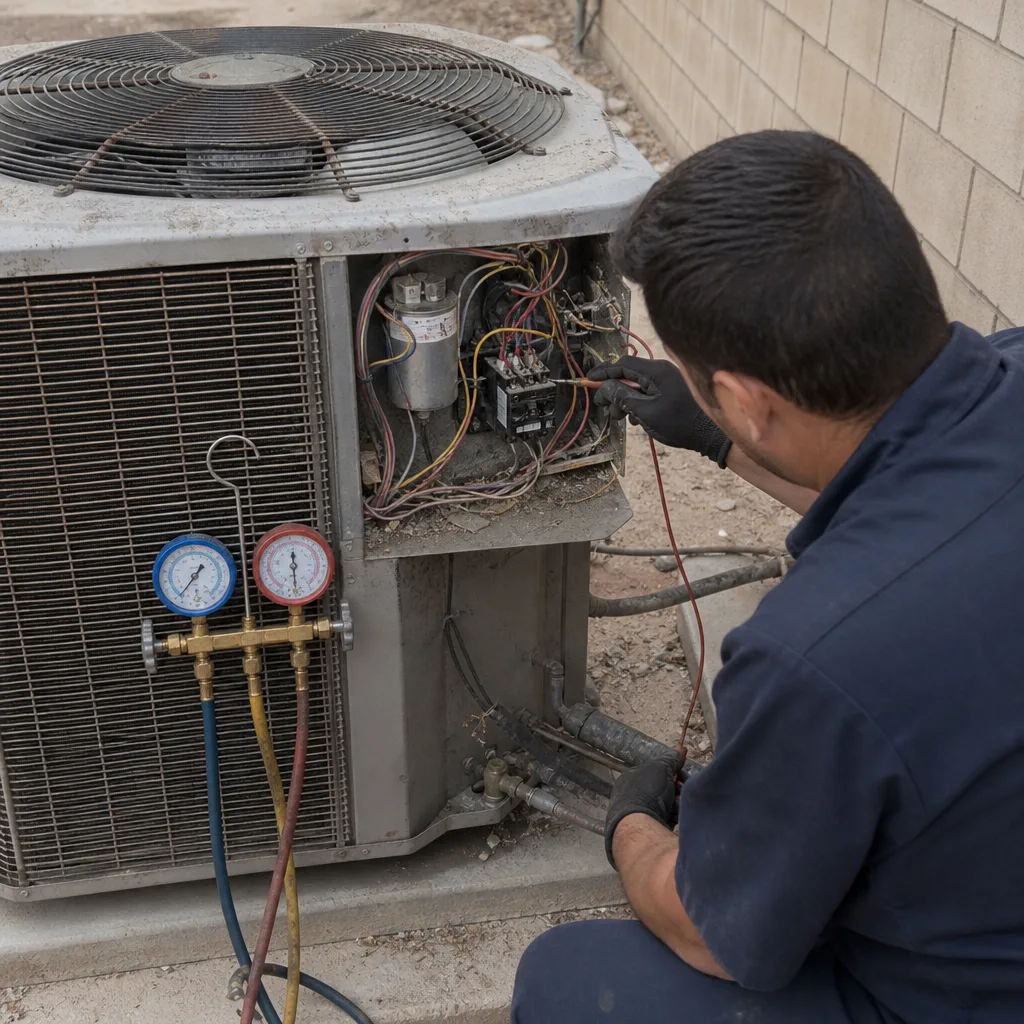 Before
 After
When to Call a Professional
Call when the problem involves refrigerant, gas, or line voltage. Call when the unit is less than five years old and the warranty is still active. Call when the temperature inside the house has already passed 85°F and climbing. Call when the compressor is humming but not starting, when the breaker trips more than once, when there’s a burning smell, or when you’ve already replaced a part and the problem didn’t change. These are the moments when a misdiagnosis stops being an academic exercise and starts being a health risk. Stratford AC Repair offers free estimates in North Las Vegas, call (844) 731-3077. We work on nearly every major brand, including yours, and we assess repair honestly before replacement is ever mentioned.
Frequently Asked Questions
You can if you follow the full safety protocol: shut off power at the thermostat and breaker, discharge the old capacitor with an insulated tool, confirm zero volts with a multimeter, and photograph the wiring before you disconnect anything. But the reason the capacitor failed matters as much as the replacement. A weak compressor can kill a new capacitor in weeks. If you don’t know how to test the compressor’s amp draw, call (844) 731-3077 for a diagnostic that costs less than a second DIY attempt.
No. Federal EPA rules require Section 608 certification to handle refrigerant, and no reputable supplier will sell it to an uncertified buyer. Adding refrigerant without fixing the leak is also illegal and wasteful. A system that’s low on refrigerant needs a leak search and repair, not just a top-off.
It can, and the clause is usually in the warranty document’s exclusions section. Many manufacturers state that repairs by anyone other than a qualified technician void the parts warranty. If your system is less than five years old, the compressor alone can be worth $1,500 to $3,000 under warranty. Risking that to save a $150 service call is a bad trade.
Capacitor failure is the most common failure we see in North Las Vegas during the summer. The sustained heat accelerates the breakdown of the capacitor’s internal dielectric material. The second most common is a clogged or dirty filter causing the evaporator coil to freeze. Both look like “the AC stopped working,” but they have very different fixes.
During the peak cooling season, most HVAC companies in North Las Vegas are booking two to four days out for standard calls and one to two days for emergency slots. That’s the hidden cost of a failed DIY attempt: you’re now in the same queue as everyone else whose system gave out that day. Call (844) 731-3077 and we’ll give you a straight answer about availability before you book.
The repair vs. replace decision is about the compressor, the coil, and the age of the system. If the compressor has failed and the unit is more than 10 years old, the math often shifts toward replacement, especially with newer R-410a efficiency standards and the phaseout of R-22. But if the compressor is healthy and the repair is under $500, a repair-first approach usually makes more sense. We assess every system with a repair-first mindset and only recommend replacement when the repair cost divided by the remaining expected life doesn’t pencil out.
The Bottom Line
The DIY vs. professional decision in North Las Vegas isn’t a vote for or against self-reliance. It’s a calculation about which resource you have more of: time or money. In the winter, a homeowner has days to troubleshoot a furnace. In the summer, a homeowner has hours. Filter changes and thermostat swaps are always reasonable. Capacitor work can be safe with full protocol. But refrigerant, gas, and line voltage are bright lines that exist for a reason, and most warranty documents back them up with financial consequences. When a failure happens during a heat wave, the cheapest professional diagnostic is usually the least expensive path to a cool house. That’s the honest math.
Written by the team at Stratford AC Repair, serving North Las Vegas since 2015. For AC repair, AC installation, or furnace work in the North Las Vegas area, call (844) 731-3077 for a free estimate.